
For three seasons in a row, my lawn looked tired and worn out, more like an old carpet than a yard:
- Bare spots across the yard
- Weeds filling every open space
- Seed washing away in the rain
- Burnt patches from poorly timed fertilizer
I was putting in effort, but not structure.
I was reacting, not following a plan.
The frustrating part was that I knew better. I kept trying to shortcut the process because I wanted fast results, and every shortcut set me back another season.
Lawn care does not reward shortcuts.
It rewards systems and consistency.
Once I committed to a simple, repeatable process, my lawn changed completely.
This article is a high-level overview of the fall overseeding process I follow. As this site grows, I will go deeper into topics like choosing the right seed for your region and making adjustments for different microclimates in your yard (full sun, shade, slopes, and problem areas).
The Method I Use Every Fall
This is the actual process I follow when I renovate or overseed in fall. No magic products, no “secret” tricks, just the basics done correctly and in order.
- Cut Low
I mow down to about 2 to 2.5 inches and bag all the clippings.
The goal is simple: get old growth and debris out of the way so seed can reach the soil. Clippings and thatch left on top block contact, and that alone can ruin an overseed.
- Break the Surface
I use a metal rake or a dethatcher and lightly scratch the surface of the soil.
The point is not to till or dig deeply. I just want grooves and small openings where seed can sit and stay in place. That light scarring is often the difference between seed that anchors and seed that slides around or washes off.
- Choose the Seed Mix
For my yard, I run a mix built for both durability and recovery:
- Tall fescue blends for toughness and traffic tolerance
- Kentucky bluegrass for its ability to spread and fill small gaps over time
I avoid heavily coated seed with more marketing than seed content. I want quality seed, not a bag that is half coatings and filler.
In future articles, I will break down seed choices by region and conditions, because what works best in a cool, humid area is not always right for a hot, transitional or drier climate.
- Lock the Seed in Place
This is the step that made the biggest difference for me.
After spreading seed, I lightly topdress with peat moss or compost. The layer is thin enough that you still see some seed, but thick enough to hold moisture and protect it.
That topdressing does three important things:
- Helps the soil hold consistent moisture
- Reduces washout during rain
- Makes it harder for birds to pick off exposed seed
Before I started topdressing, my germination was hit or miss. After I added this step, the difference was obvious.
- Water Properly
Watering determines whether the rest of the work pays off.
For the first two weeks, I aim for two to three light waterings per day, just enough to keep the top layer of soil consistently damp. Not soaked, not puddled.
If seed dries out in the middle of germination, it fails.
The key is consistency, not heavy soaking. Light, frequent watering early, then gradually shifting to deeper, less frequent watering as the new grass matures.
- Wait Before Mowing
This is where patience matters.
I wait until the new grass reaches about 3.5 to 4 inches before the first mow. Then I cut it back to around 3 inches with a sharp blade.
If you mow too early or cut too low, you stress the new grass right when it is trying to establish roots. That can undo a lot of the progress you just made.
What Changed
With this approach, within about 30 days I started to see clear improvements:
- Bare areas filled in with new growth
- The turf thickened instead of looking patchy
- Many weeds faded out simply because they were outcompeted
- Roots had time to establish before winter arrived
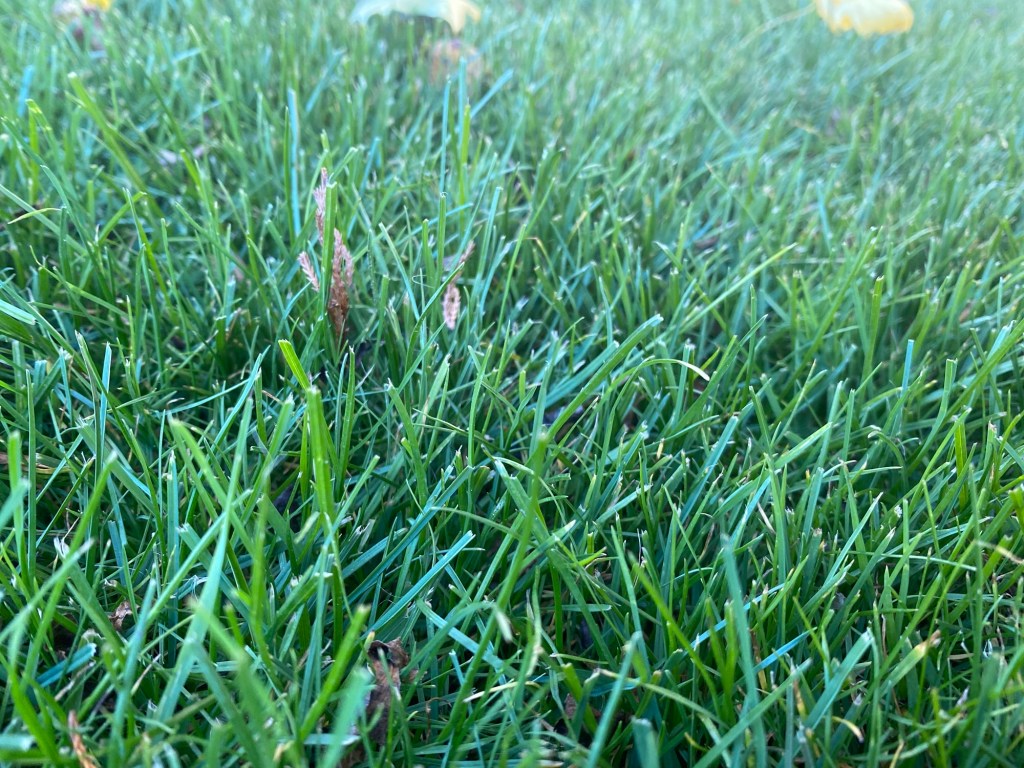
By spring, the lawn responded differently. It came back thicker, more even, and with far fewer weak spots.
No more patchy, inconsistent areas I had to explain away.
Just a lawn that finally reflected the effort going into it.
Mistakes That Set Me Back
Looking back, the things that hurt my lawn most were not lack of effort but poor habits:
- Throwing seed on top of unprepared soil
- Watering once per day and assuming it was enough
- Skipping topdressing to “save time”
- Fertilizing too early or at the wrong rate
- Mowing new grass too soon
Every one of those choices cost me results. In practical terms, each mistake delayed a healthy lawn by another season.
Why I Started This Blog
I am not a professional landscaper, and I am not trying to pose as one.
I am doing this because:
- Lawn care became a quiet place for me to focus and reset
- I have made enough mistakes to see what consistently fails
- Most homeowners are not struggling from lack of effort, they are missing clear, basic structure
I want to document what actually works in real yards, over multiple seasons and processes that you can repeat.
What You Will Find Here
Over time, this site will collect:
- Honest seed and product reviews, both paid and unpaid
- Real lawn experiments, including what works and what clearly does not
- Budget-friendly setups that perform better than you would expect
- Practical lawn schedules that regular people can actually follow
- Region-based guidance and microclimate tips, so you can adjust the process to your own yard instead of copying mine blindly
The idea is simple: as my yard improves, the content here improves with it, season by season.
A Final Word If You Are Just Starting
If your lawn looks rough right now, it is not a sign that you are bad at this.
Most of the time, the lawn is struggling because nobody ever gave you a straightforward system to follow. You end up improvising with random products instead of working a clear plan.
Grass responds to consistency more than enthusiasm.
What Is Coming Next
Here is what I am working on next:
- A breakdown of the best tall fescue blends I have tested so far
- Region-based seed selection basics so you can choose a mix that fits your climate
- A beginner-friendly fertilization schedule designed to avoid burn
- My spring recovery approach after a full fall overseed
- Advice on handling different microclimates in your yard, like shade pockets, full-sun areas and slopes
Your Turn
If you are ready to stop guessing and start following a simple, repeatable process, you are in the right place.
This is what the work actually looks like in practice.
One season at a time, we can turn a problem lawn into something you are genuinely proud of.

Leave a comment